By Denis Vladyko
Whether you’re one of those intrepid DIY warriors who’s not happy unless they have a hammer in hand or a novice eager to try your hand at home improvement, my expert tips can help you get your project off to a great start! Today I’ll show you a kitchen cabinet refinishing project that can change the whole look of your kitchen affordably!

Because kitchen cabinets take up so much of the wall space in your kitchen, if they’re shabby, scratched or just hopelessly out of date, your whole kitchen will look drab. And given the amount of time you spend in that space, wouldn’t it be nice if it was much more appealing?
Before you start any project, you should have a plan. I recommend you flip through some home interiors magazines or check out model kitchens in your local home improvement store to figure out what look you want. In my video example, I’ll show you how to reface cabinets using stain, but you can also use the same steps to refinish your cabinets with paint if that’s the look you prefer.
Stains come in a wide variety of colors and will be more durable. But if you have darker wood cabinets and want to lighten up your space, you may want to consider paint. There are a wide variety of stains you can select from including oil based, water based, gel based or one-step stain and finish.
Some paints and stains dry faster and are more challenging for DIY newbies to work with so stick with products that don’t advertise themselves as “super-fast drying” or “one-step.” Once you know the look you want, I recommend a trip to your local paint store. Tell them about your project, the look you want to achieve and your available tools and they can give you advice on what will work best for you.
In addition to your stain or paint, here are the other supplies you’ll need for your DIY kitchen cabinet refinishing project:
Supply List:
- Paint or stain (one gallon)
- JASCO Premium Paint & Epoxy Remover
- Chemical resistant gloves
- Cheap throw away brushes (several)
- Scraper (we like the Hyde with tungsten-carbide alloy blades)
- Multi-tool (we like the Fein MultiMaster, but if you have a Dremel, that’s okay too)
- Triangle sanding attachment for multi tool
- 80, 150 and 220 grit sandpaper for triangle tool
- Random orbit sander (we prefer the 5 inch size)
- 80, 150 and 220 grit sandpaper for orbit sander
- Wood conditioner (we prefer Varathane)
- Lint free cotton cloths
- Steel wool (grade #0000)
- Sealant (polyurethane or other type)
- Tarps or drop cloths
- Shop vac
You’ll want to work in a space that has ventilation – a garage or screened porch area is great so that there’s airflow to protect you from chemicals. It’s especially important to wear heavy-duty protective gloves and have proper ventilation when you’re working with the paint and epoxy remover. It will burn your skin if it comes into contact and should not be used in a closed space to protect you from breathing in fumes!
You also want to work in an area that will minimize risk of external dust and debris getting into your stain or paint. This project will create lots of dust along the way – another reason not to do it inside your house if possible. The shop vac will be handy to remove dust after each step and keep it out of your stain and off of your workspace.
For most people, it’s easier to see how something is done rather than read and try to follow along! With that in mind, I prepared this video to take you through the step-by-step process in a way that’s easy to understand and follow. You’ll see each step of my preferred method for cabinet refinishing in detail. These are exactly the steps I take when I refinish cabinets for my clients!
Steps:
- Strip away old finish
- Sand
- Condition
- Apply new finish
- Apply protective coat
These are the phases you’ll go through, but in between there’s waiting time for drying and lots and lots of sanding. With a project like this, if you have the tools on hand, the primary expense is the finish remover, stain and varnish. But the true cost is the investment of your time. You can’t rush a job like this if you want to get professional looking results.
What’s nice about refinishing your kitchen cabinets is that, unlike other DIY home improvement projects, you can do it in stages. If you’re new to DIY projects, you may want to refinish your cabinet doors one at a time so you don’t dismantle your kitchen and then get discouraged if it takes longer than you thought!
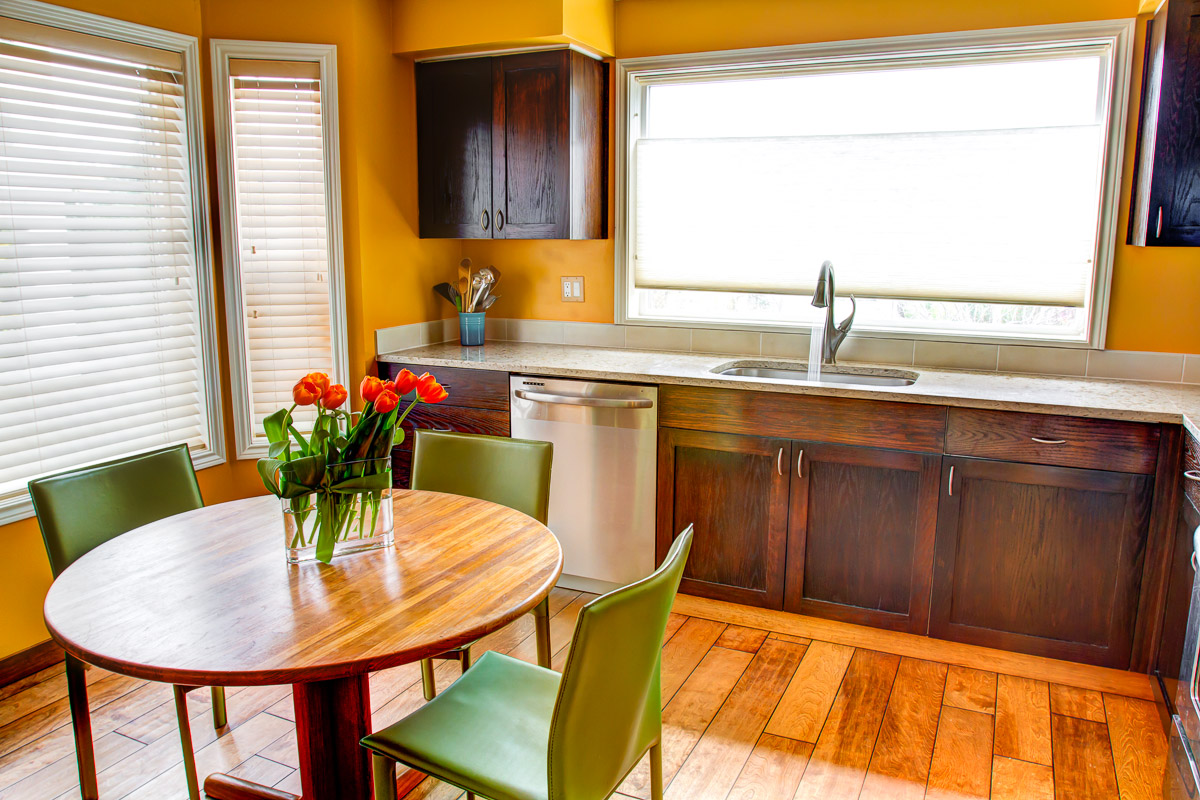
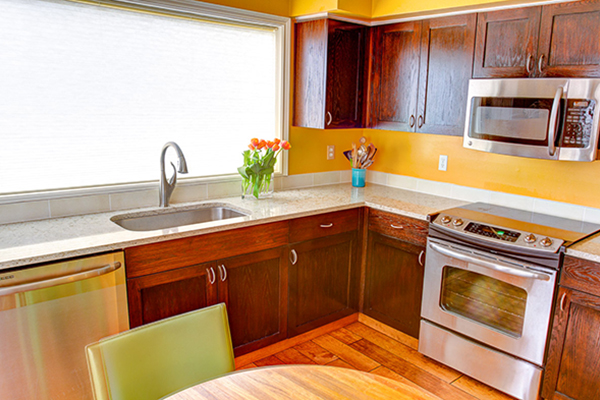
I hope you enjoy this video of tips for refinishing your kitchen cabinets. You can see the end results of this particular project in the included photos. Revamping your kitchen cabinets can completely change the look of your kitchen and give you a room you’re thrilled to spend time in. Good luck with your project!
If you’re interested in a kitchen, bath or remodel of any room in your house, but aren’t a DIY kind of person – or if your DIY project has turned into a nightmare you want to hand off to an expert – call Corvus Construction today at (206) 355-4981 or toll-free at (877) CORVUS8 for a free consultation and estimate. Call, use our website contact form or email us: info@corvus-construction.com.


